How to Use RabbitMQ for Message Queue
Imagine a situation in which you are creating an E-commerce website’s backend and you need to make a service that is used to place orders you may have these functionalities as follows:
- Sending a confirmation mail
- Notifying inventory
- Logging the transaction
If these tasks are implemented sequentially then we may face these potential issues:
- Network Latency
- Tight Coupling
- Single Point of failure, in which if any one task fails then the whole codebase throws an error
So, instead of doing these tasks synchronously, we can decouple this service independently by pushing them to the message queue. This enables the ability to do the task independently, less dependent on the other microservice. If any of the different functions fail, then the different tasks will be completed successfully.

In this tutorial, we will learn more about Message queue implementations using rabbitMQ.
What is RabbitMQ?
RabbitMQ is a message broker used in distributed applications(applications based on microservices) to enable an efficient queuing mechanism. We use it most specifically with common messaging protocols(like amqp).
The best part of this is easy to use with open source community support and its common use cases are:
- Decoupling Microservices
- Managing asynchronous tasks
- Enabling distributed system architecture
Before going deep down into the tutorial we first need to go through the basic core components of RabbitMQ, these are as follows:
- Producer: Sends a message to the queue
- Queue: This is the place where the messages are stored as a queue.
- Receiver: The receiver is an entity responsible for receiving the messages.
- Exchanges: This is just like a Postman accountable for routing different messages to one or more receivers.
How to use RabbitMQ?
Step: 1 — Installation:
So this is very straightforward, if you have docker installed you just need to install the publically available docker image of the RabbitMQ from the docker hub or you can also download the latest version of the docker using the following command:
docker run -it --rm --name rabbitmq -p 5672:5672 -p 15672:15672 rabbitmq:4.0-managementOr you can go through the Official link of RabbitMQ.
You also need to install amqp(Advanced message queueing protocol).
npm install amqplibAs I am using the docker container so there is no need to enable the plugins necessary for this, if you use any other method of installation you need to enable the plugins needed.
rabbitmq-plugins enable rabbitmq_management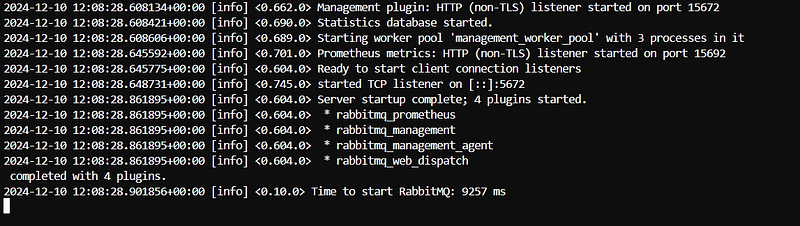
These are the plugins that are enabled automatically.
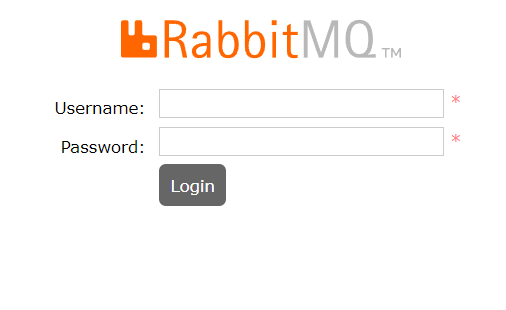
Step: 2 — Access the RabbitMQ Local Service
Default credentials:
- Username:
guest - Password:
guest
Step: 3 — Producer
To create a producer you may need these 3 things as follows:
- Channel
- Queue Creation
- Data Queuing
A. Channel Creation
In the below-mentioned code, we see that we first created connect to localhost and then created the channel, for handling the null exception error we checked for connect and channel.
const connect = amqp.connect("amqp://localhost");
if(!connect){
  console.error("Connection error")
}

const channel = connect.createChannel();
if (!channel) {
   console.error("Channel Creation Error")
}
B. Queue Creation
In this step, we asserted the queue naming “emailQueue”, here a parameter { durable: true }, which is used when we need persistency in messaging service it persists the messages whenever we need the data to persist even after RabbitMQ stops.
const assertion = channel.assertQueue("emailQueue", { durable:true })
if(!assertion){
  console.error("Assertion Error!!!")
}
C. Data Queuing
This code uses a method called “sendToQueue” where Buffer.from() used to get data.
const dataQueued = channel.sendToQueue("emailQueue", Buffer.from(emailData), { persistent: true });Step: 4 — Receiver
This is also the same as the producer but instead of sending it to the queue it consumes from the queue using this cod.e
channel.consume("emailQueue", async (message) => {
    if (message) {
        try {
            const emailData = JSON.parse(message.content.toString());
            console.log("Email Data Received:", emailData);

            // Log the email data to the database
            const loggedData = await Email.create({
                to: emailData.to,
                from: emailData.from,
                payload: emailData.payload,
                subject: emailData.subject,
            });

            console.log("Data successfully logged to the database:", loggedData);

            // Acknowledge the message as successfully processed
            channel.ack(message);
        } catch (err) {
            console.error("Error processing message:", err.message);

            // Reject the message without requeueing
            channel.nack(message, false, false);
        }
    }
});
This is just part of my full implementation of The Resilient Emailing Sending Service which you can check out.
Use Cases of RabbitMQ
- Microservices Communication: Used for efficient decoupling of microservices which can work asynchronously
- Task Queues: This is responsible for distributing tasks like background jobs.
- Event Streaming: This makes the tasks possible by handling real-time data streams.
Conclusion
RabbitMQ is an interesting messaging service that allows for the fast construction of complex systems, especially those in modern distributed architectures, through flexible routing, durability, and reliability of messages. The message broker helps ensure that data is well organized by following the guidelines provided in this manual.