How I Shared My Local Server with My Client for Testing
Recently, while developing APIs for an e-commerce backend, my client requested that I make my localhost accessible globally. At first, I was surprised — what the heck is localhost tunneling? After thorough research and experimentation, I finally discovered an effective method to achieve this.

Localhost tunneling enables developers to expose their local servers to the internet, which is incredibly useful for testing webhooks, sharing in-progress work with clients or teammates, and debugging issues on mobile devices. These tasks are otherwise impossible with a standard localhost setup.
In this guide, we’ll explore the concept of localhost tunneling, the tools available for it, and how to manage tunnels to meet your development needs effectively.
Why Use Localhost Tunneling?
A big question arises as why we should take care of another overwhelming burden while developing. There are few reasons for this, Localhost tunneling allows us to:
- Test Webhooks: By exposing the local server to the internet, which enables the integrations with platform like stripe, Github, and Twilio.
- Collabrate remotely: We can also be able to share our in-progress work with the clients, colleagues and team members without fully deploying it the staging or production environments.
- Debug on multiple devices: By exposing our local server to test how our applications look and behaves on external devices(like mobiles or tablets) over the internet easily.
Tools for Localhost Tunneling
There are several tools which are right now in the market which have their own pros and cons choosing over them is solely depend on the developers choice. Some of them are as follows:
- ngrok: The most widely used tool, which offer a seure tunnels with additional features such as inspecting on the local terminal, traffic management, and most importantly one free subdomain.
- Localtunnel: A lightweight option which is quick to setup and doesn’t require an account to register.
- Cloudfare Tunnel: A free and secure alternative from cloudflare, ideal if we want to avoid the rate limits that some other tunneling tools impose.
- Expose: A self-hosted alternative that’s open-sourc and provides detailed traffic analytics for the options which are used with different protocols.
Each of these have unique features, so choosing over one that suits our project needs best. for this article, I am going to use ngrok to show you walk through how to do everything step by step.
Step-by-Step Guide: Setting Up Localhost Tunneling with ngrok
As ngrok is very begginer friendly and provides an intuitive wa to expose local servers. We can follow similar steps for other tunneling tools.
Step 1: Install ngrok
- Download ngrok
- Go to ngrok’s download page and download the windows
Step 2: Sign Up and Authenticate to ngrok
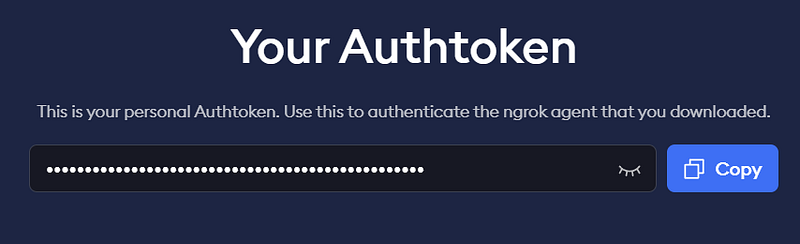
- After registration process completion you can get a AUTH_TOKEN
Step 3: Start Your Local Server
Start your development server on localhost:8000, and it should be accessible locally at http://localhost:8000 for example
npm run dev#or your script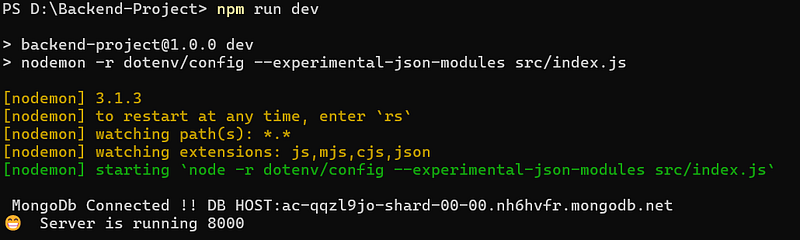
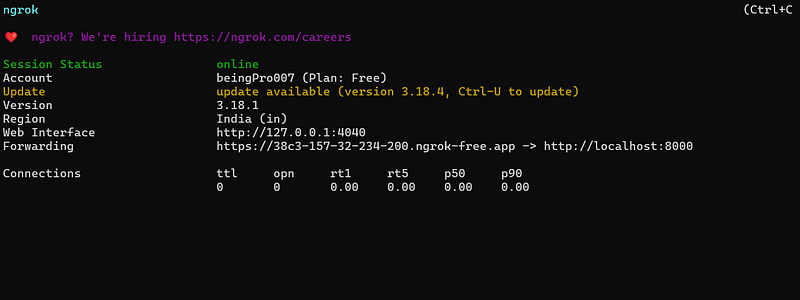
Open another terminal and write the following command for tunneling
ngrok http 8000
As you can see from the above terminal screen ngrok tunneled port 8000 and this can be globally accessible as the link Forwarded….
After this i shared my tunneled link with my client and he appreciated for my work.
Troubleshooting Common Issues
- ngrok Session Limitations: Free-tier users may also encounter session limits, which prohibits the users while tunneling prohibitions like tunnel link non accessible or the link is broken sometimes. In this case you just restart the tunneling.
- Invalid Auth Token: If you see an invalid token error just recheck and correct as usual it may be any typo mistakes many times
Thank you for reading this, if you want you can also read through my different articles also, or just put a clap in this.