Building a Simple Voice Agent in Python
Agent Who Loves Overtime

I don’t even remember the last time I wrote an article. I think it’s been around 2–3 months. Recently, I’ve been trying to understand how AI agents and assistants work in the first place. Honestly, that’s just an excuse — I’ve been a bit lazy. So, without any further ado, let’s start with how to create AI agents.
If you are not a medium member, you can read it here
In recent years, AI agents have been in a boom, which can automate tasks for different use cases. You can check my project AIvengers, which has a similar saas product that is eventually going to be a product, but that’s a different story .but main question is how to create something that can also help any business.
Keep in Mind this is the ready to go tutorial, which wont going to the depth to the things how webrtc(For Realtime Communication between you and agent) and all works and makes up agent. For this thing stay tuned and i am going to also guide through them also, and update here also so that you can easily navigate through them.
This tutorial is the extended version of Livekit QuickStart.You can also refer to it also but if you want to keep going through, then here we go.
Steps to build an Agent
Step 1:- Collect Necessary API Keys
So in my case, I am going to use DeepGram for STT(Speech-to-Text), which in real-time converts my voice to a Stream of text, and OpenAI for LLM(Brain of Agent). Cartesia for TTS(Text-to-Speech), but you can use any of the STT-LLM-TTS pipeline plugins for your use case.
For Example, you can use [groq(STT), Cerebras(LLM), AWS Polly(TTS)]; it's solely up to you.
So on this site, you collect all the API keys and store them in your .env file.
OPENAI_API_KEY=sk_*******
DEEPGRAM_API_KEY=********
CARTESIA_API_KEY=********
Step 2:- Livekit Account Setup
After Account creation on Livekit, you can create an API key by going to
Settings —> API Keys
After creating API keys, you will find that you have API Keys. Add them to your .env config, which finally looks like this.
OPENAI_API_KEY=sk_*******
DEEPGRAM_API_KEY=********
CARTESIA_API_KEY=********
LIVEKIT_URL=wss://*********.livekit.cloud
LIVEKIT_API_KEY=***********
LIVEKIT_API_SECRET=********
Step 3:- Python Requirements Setup
To run the agents efficiently, we can use the requirements file given below
//this is the requirement file for running the agent(requirements.txt)
livekit-agents[cartesia,openai,silero,deepgram]~=1.0
python-dotenv
aiohttp>=3.8.0
. This is the minimal possible requirement file setup needed to make the agent.
Step 4:- Python Environment Creation
If you are not a 10x dev like me, then you go on Google search on how to create a Python virtual environment,,t but I am here for you, bruh! This is how to create a Python virtual environment. First of all, open your project in your preferred command line
python -m venv venv

source venv/bin/activate(for linux)

source venv/Scripts/activate(for windows)
These commands will do 2 things:
- Create A virtual environment
- Activate your environment
Step 5:- Install requirements
pip3 install -r requirements.txtThis will going to install the necessary packages needed to run the agent efficiently. This takes time, so go and touch some grass.
Step 6:- Main Python File
So this is the most important file that is going to run the process needed to run the agent
import logging
from collections.abc import AsyncIterable
from dotenv import load_dotenv

from livekit import rtc
from livekit.agents import (
    NOT_GIVEN,
    Agent,
    AgentFalseInterruptionEvent,
    AgentSession,
    JobContext,
    JobProcess,
    ModelSettings,
    RoomInputOptions,
    RoomOutputOptions,
    RunContext,
    WorkerOptions,
    cli,
)
from livekit.agents.llm import function_tool
from livekit.agents.voice.transcription.filters import filter_markdown
from livekit.plugins import deepgram, openai, silero, cartesia
import asyncio

logger = logging.getLogger("basic-agent")

load_dotenv()


class MyAgent(Agent):
    def __init__(self) -> None:
        super().__init__(
            instructions=(
                "Your name is Kelly. You would interact with users via voice."
                " Keep your responses concise and to the point."
                " Do not use emojis, asterisks, markdown, or other special characters in your responses."
                " You are curious and friendly, and have a sense of humor."
            )
        )

    async def on_enter(self):
        self.session.generate_reply()

    async def tts_node(
        self, text: AsyncIterable[str], model_settings: ModelSettings
    ) -> AsyncIterable[rtc.AudioFrame]:
        filtered_text = filter_markdown(text)
        return super().tts_node(filtered_text, model_settings)

    @function_tool
    async def lookup_weather(
        self, context: RunContext, location: str, latitude: str, longitude: str
    ):
        logger.info(f"Looking up weather for {location}")
        return "sunny with a temperature of 70 degrees."


def prewarm(proc: JobProcess):
    proc.userdata["vad"] = silero.VAD.load()


async def entrypoint(ctx: JobContext):
    ctx.log_context_fields = {
        "room": ctx.room.name,
    }

    session = AgentSession(
        vad=ctx.proc.userdata["vad"],
        llm=openai.LLM(model="gpt-4o-mini"),
        stt=deepgram.STT(model="nova-3", language="multi"),
        tts=cartesia.TTS(),
        preemptive_generation=True,
    )

    @session.on("agent_false_interruption")
    def _on_agent_false_interruption(ev: AgentFalseInterruptionEvent):
        logger.info("false positive interruption, resuming")
        session.generate_reply(instructions=ev.extra_instructions or NOT_GIVEN)

    max_retries = 3
    for attempt in range(1, max_retries + 1):
        try:
            await session.start(
                agent=MyAgent(),
                room=ctx.room,
                room_input_options=RoomInputOptions(
                    close_on_disconnect=False
                ),
                room_output_options=RoomOutputOptions(transcription_enabled=True),
            )
            logger.info("Agent session started successfully")
            break
        except Exception as e:
            logger.warning(
                f"Attempt {attempt} failed to start agent session: {e}"
            )
            if attempt < max_retries:
                await asyncio.sleep(1)
            else:
                logger.error("Max retries reached, could not start session")
                raise

if __name__ == "__main__":
    cli.run_app(WorkerOptions(entrypoint_fnc=entrypoint, prewarm_fnc=prewarm))
This is the source code, which consists of these things:
- Running this as a child process using cli of LiveKit.agents
- Prewarming is the most costly process for each session's use cases
- Creating the entrypoint and MyAgent, which has one function to search for today’s weather (just a mock), I haven’t used any API keys for weather. You can use OpenWeather API, and stuff like it, or more advanced web search like Tavily.
This is it, and you can just modify the AgentSession and My agent part to change the agents and all, but to keep this simple, I won't go into them, which I told you before.
If you are wondering what the use of the VAD thing this stands for Voice Activity Detection, which helps the STT to give timestamps where the user is saying or not saying, which increases the efficiency for sure.
Step 7: Run the file
To run the file, use the Python command
python therpyAgent.py devThis will give the output like this

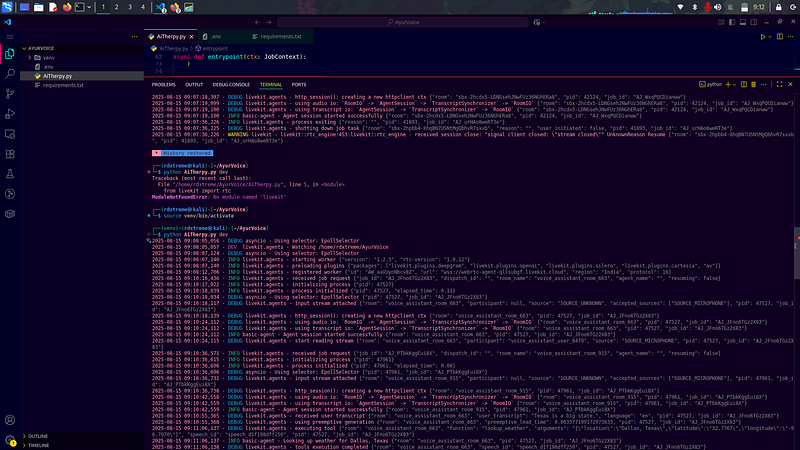
These are the logs that show the running project, and the worker is now registered and ready to listen to the query of the user and run the coroutine pipeline.
Step 8: Live Preview
As this is a Job listener, but to use it, you may also need a front-end to test it. So, to access this in live agent format, you can create one, but if you just want to test your age, then you can create a sandbox in the livekit dashboard and access it, which looks like this.
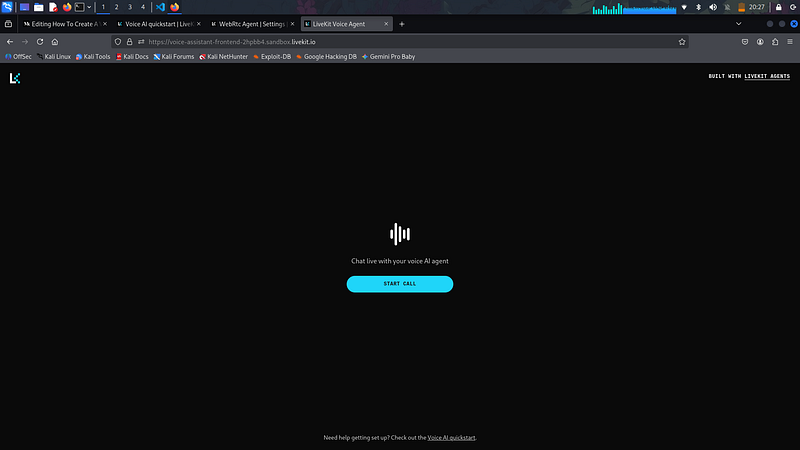
Don’t use mine i will disable after writing this blog.
From here, you can talk with the agent, and you finally see these logs, but for this tutorial, I am going to use my tweaked version of livekit’s frontend, which looks like this,
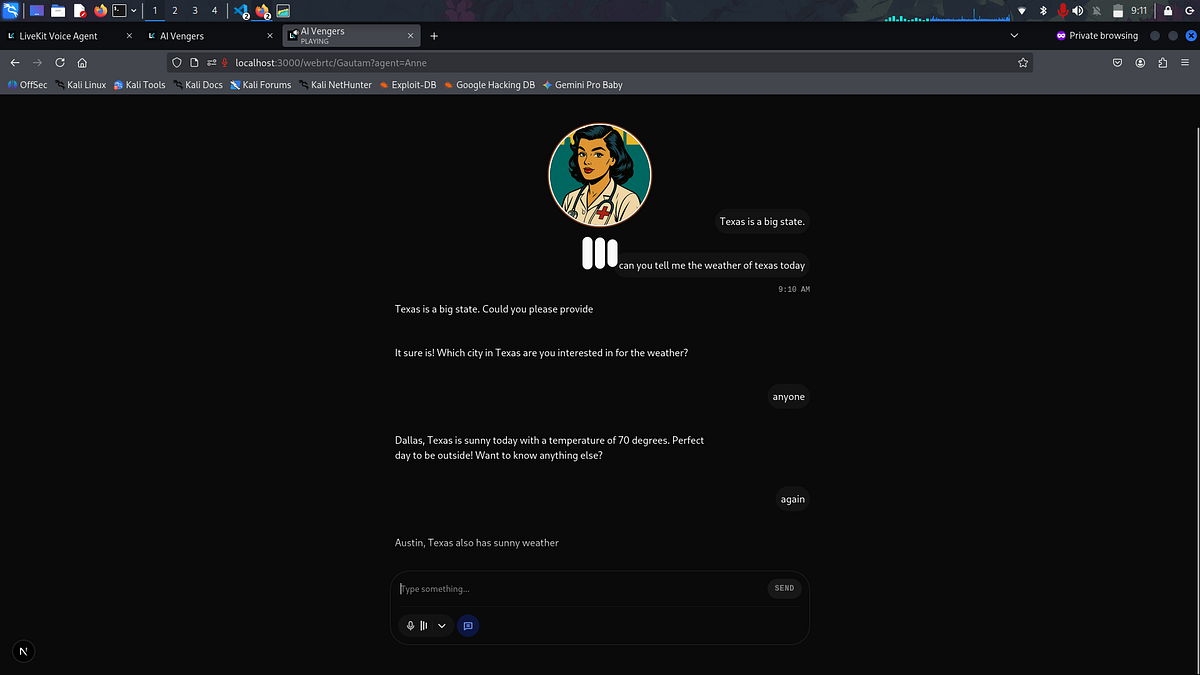
And here you can talk, chat, and share your screen with the agent.
When you started seeing these logs, you are good to go, and your configurations are all good now.
Conclusion
Currently, the agent that we created is dumb ass because here simple LLM calls are happening, which are naturally using the chat context and give answerthatch are general to the prompt given but to make it really like a super intelligent for our business usecase, we need to follow through the ins and outs of the session(particularly aagent session. For this, we can use LangChain, which will help us to create a langraph structure for workflow creation.
So stay Tooooooooned, because more articles are coming around Knowledgable AI agent creation.